As someone who loves to take a dip in the pool, I’ve found that the most cost-effective and efficient way to heat my swimming pool is by using a solar cover or blanket. This simple solution comes highly recommended by many pool builders, and I can personally vouch for its effectiveness.
By just using a cover, I’ve been able to extend my swimming season by two whole months – gaining an extra month at the start and another at the end. Let me share with you how a pool cover can benefit you:
- Directly convert solar radiation into usable heat for your pool – usually raises the temperature about 5 degrees F. for every 12 hours of coverage.
- Prevents heat from escaping – retain that heat in your pool.
- Limits evaporation – each gallon of water evaporated removes about 8,000 BTUs of heat.
- Reduces chemical depletion – reduces your costs for chemicals.
Considerations:
- Don’t leave your cover in the sun when removed from the pool as this degrades the plastic.
- Covers can be dangerous – if you fall onto a cover it can be very difficult to get out. Don’t swim in a pool with a cover on or partially on – if you come up under the cover, you will NOT find any air!
How to DIY Solar Pool Heater
Our very simple, DIY solar pool heater uses a photovoltaic (PV) module to provide free power when the sun shines, which is when you want the pump to run. It also uses a small, DC submersible pump and some black landscaping tubing.
You can also use the existing pump to run your DIY system, but be aware of the extra cost of electricity to run the pump. If you place your tubing on a roof, you can add a lot of strain to the existing pump. This could shorten the life of the pump and could also make a rather large increase in the amount of electricity used by the pump.
As well, you want the solar pool heater to run during the daylight hours. This is often when electricity cost the most and may not coincide with your optimal pump running hours. A PV panel and small submersible pump could pay for itself in just one season.
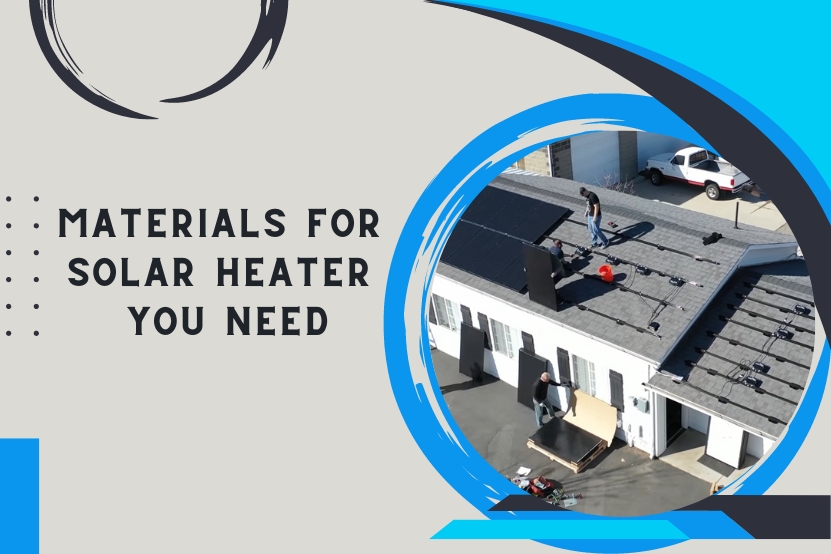
Materials for Solar Heater You Need
- submersible 12 VDC pump – around $40
- solar PV panel – around $130
- 1,000 feet of 1/4″, black, plastic landscape tubing – around $30
- joiners and junctions for tubing
- mounting for tubing (optional)
Solar Heater Assembly
1. Cut tubing into lengths
Don’t make tubes too long (100′) as water will get too hot before it comes out. Better off making parallel tracks and keeping them shorter.
2. Arrange tubes and make connections
Using “T” joiners and junctions, assemble your panel.
3. Optional
mount tubing to a sheet of plywood painted black. You can also just lay the tubes on the ground near the pool. If placed on cement, they will pick up heat reflected from the cement.
4. Place panel in sun
You can lay the panel on the ground or slant it towards the sun. Try to keep the panel low to the ground to reduce pressure on the pump (head). If you want to put the panel on a roof, you may need to purchase a more expensive pump that can handle the pressure (head).
5. Connect tubing to the pump
Aim PV panel at the sun and connect to the pump. Drop pump in water.
Variations
- Buy a few black, 50′ garden hoses and connect them in parallel – not as a single long hose, to the pump. Drop the other ends of the hoses, back into the pool. Purchase the smallest diameter hoses, which will have more surface area for the water to touch and heat up – half inch is better than 5/8ths.
- Buy a solar collector panel (around $220) and hoses and connect up to your DC pump and PV panel – cost more than the garden hoses or landscape pipe but is slightly more efficient, and very easy to install for the “not so handy”.
This solar pool heater will automatically shut off at night when the sun goes down. It also runs slower when clouds pass overhead, which gives the tubes more time to heat up the water under the clouds. And you can’t forget to turn it on, on a sunny day – it’s automatic.
Here’s a small solar pool heater. Testing it out with 100 feet of black pipe and a small submersible pump.
Tips for Every Pool
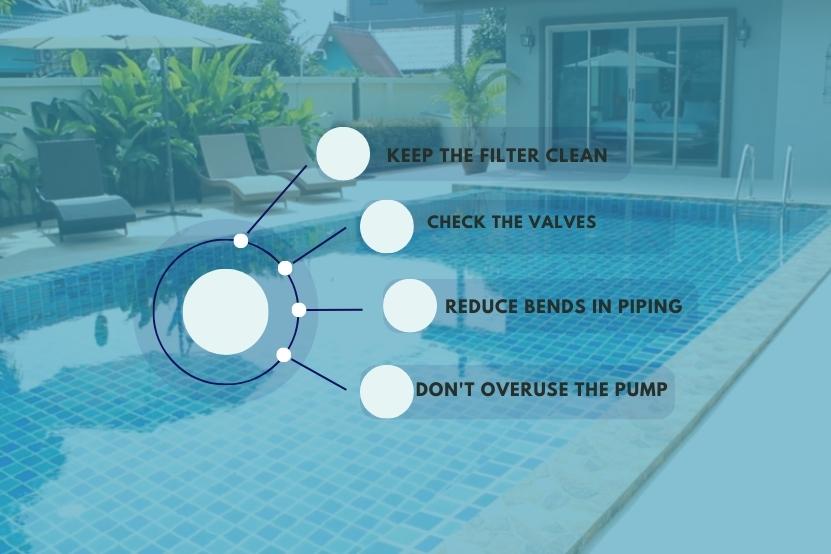
- Keep the filter clean – dirty filters load the pump, costing you money in electricity and shortening the life of the pump.
- Make sure all the valves are working – ball valves are much better than gate valves.
- Reduce bends in piping – sharp bends slow down the water, increase heat and require more power to do the job. Consider rebuilding the PVC piping, if it’s full of 90-degree bends.
- Most people run the pool pump more than needed, to keep the pool water clean. Try reducing the number of hours that it runs.
Final Words
As a fellow pool enthusiast, I can’t stress enough the benefits of a DIY solar pool heater. It’s an eco-friendly, cost-effective solution that extends your swimming season and enhances your pool experience. Remember, the sun is a powerful resource, and with this simple setup, you can harness its energy to heat your pool.
However, safety should always be your top priority. Never swim with the cover on and be mindful of its placement when not in use.
With a bit of effort and a small investment, you can create a solar pool heater that will serve you for many seasons. It’s a project that pays off in comfort, savings, and the satisfaction of using renewable energy.

